I’m a gamer, and for better or worse that means I still run a Windows gaming computer for some of my games. A couple of these are multiplayer games with the option to run your own server, and for that I use QEMU/KVM.
One issue though is I have to switch machines to use Virtual Machine Manager, a great tool for managing local or remote QEMU/KVM instances. But no longer!
Necessary Software on Windows
We’re going to need to install a few things on our Windows system to make this work.
For starters, we’re going to install WSL2 and Ubuntu.
https://ubuntu.com/tutorials/install-ubuntu-on-wsl2-on-windows-10#1-overview
This will allow you to run a linux command line on your windows machine, and install Ubuntu compatible software. I won’t go into great detail, as the article linked to does a great job of it.
While WSL2 with Ubuntu does let you run a full command line environment, it won’t run graphical applications on Windows 10. For that, we’re going to install Xming for Windows, available here.
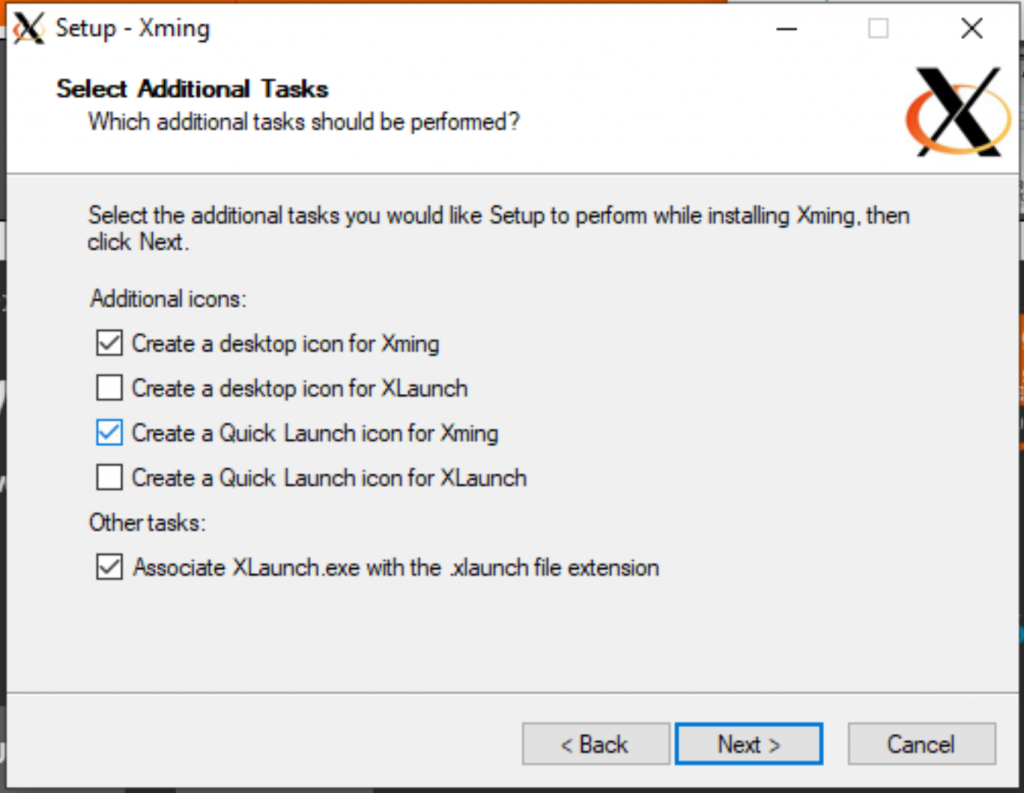
Start by downloading and running the Xming setup program. You can keep the defaults on each screen except for “additional icons”, where I recommend you go ahead and choose to create a desktop icon and quick launch.
Do not allow Xming to start at the end of this process. Instead, exit the installer and right click on the desktop icon you had created, then click properties.
You want to add -ac to the end of the commandline. This will allow connections from any host.
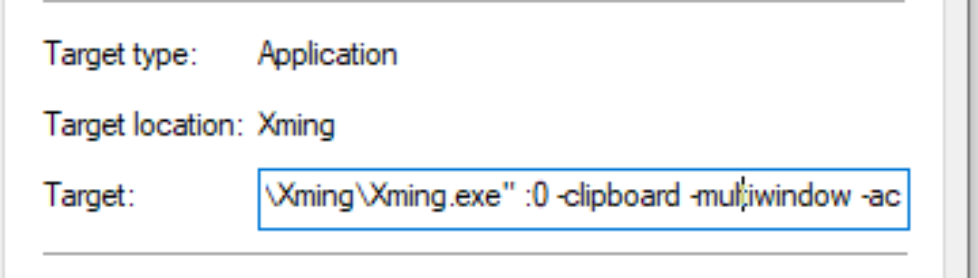
Now is probably a good time to mention this is not particularly secure. I do not recommend starting Xming on a public network, but for home use, or in a known safe office network, it should be fine.
Time to start Xming. Use the desktop icon to do so, and you’ll need to use it any time you want to start Virtual Machine Manager as well.
You may be prompted to update firewall settings as well. You will need to allow Xming through your firewall, because Ubuntu will be on a private internal network with a different IP from windows, so when prompted, make sure private networks are allowed.
Note: you likely can secure this further by specifically allowing the network ranges used by Ubuntu. I did not test this as I don’t use this environment outside the home.
Assuming you’ve followed the Ubuntu setup guide, and have Xming up and running, we’re ready to setup Virtual Machine Manager.
Setting up Ubuntu packages
Now that we have Ubuntu setup and Xming ready to go, we’re going to setup things in our Ubuntu instance. To do this, we need to install some software.
Before we start, it is vital that you install an ssh key pair on your vm host, and install the private key on your Ubuntu-on-Windows instance. You can follow this guide to generate one if you do not already have one. Once complete you will need to upload your public key to your vm host. Any questions, feel free to comment and I will try to help you out.
Let’s install some software! First we need to make sure we are up to date.
sudo apt updateThis will take a few minutes. Once complete, we’ll install virtual machine manager.
sudo apt install virt-managerIf your install is anything like mine, this will try to pull a whole ton of packages along with it. Go ahead and hit Y at the prompt.
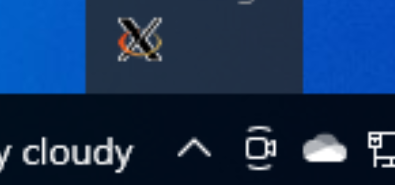
Now, before we can start virt-manager from the command line, you need to make sure Xming is running. Every time you want to use virt-manager, you’ll need to start Xming first. You may want to make it start on boot if you’re going to use this often. For now, just go to the desktop icon you created during the Xming install process and start it up, if it isn’t already running. If it is, you’ll see an X icon in the tray.
Back in your Ubuntu terminal, you’ll need to set a display.
export DISPLAY=$(grep nameserver /etc/resolv.conf | sed 's/nameserver //'):0This tells X applications how to connect to Xming on your Windows machine. If you wish, you can add this to your .bashrc to populate every time you start Ubuntu. Just…
vim ~/.bashrcand add it as the first line.
Now you can run virt-manager. It may take a minute to start up, but it should launch a Xming window, after which you’ll be able to connect to your remote kvm host.
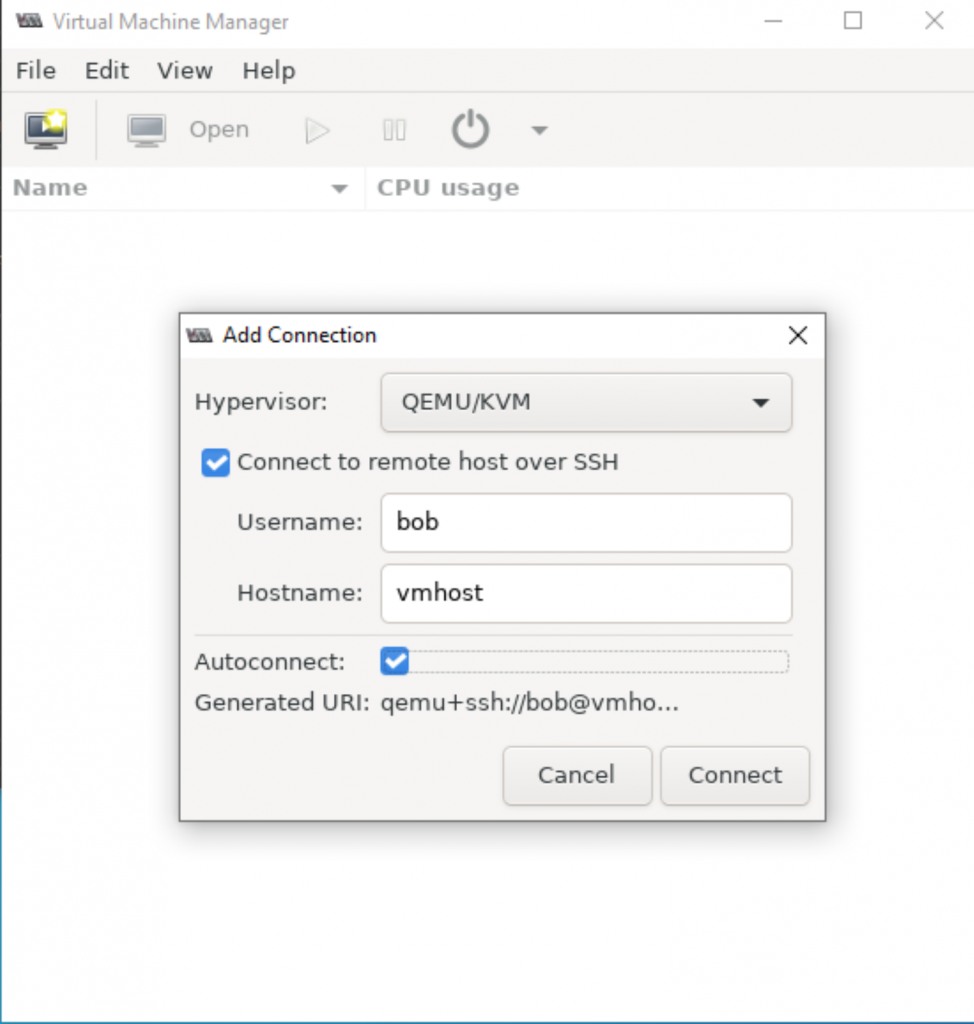
virt-managerNow you can setup your connection to your remote host. Simply click file, add connection, check the box for “Connect to remote host over SSH”, and enter your username and hostname. If you setup your keys correctly, you will not need a password.
And that’s all there is to it. You can now start virt-manager from the Ubuntu command line as long as Xming is running and you have the display exported, or added to your .bashrc.
Thanks for the post!
Thanks.